
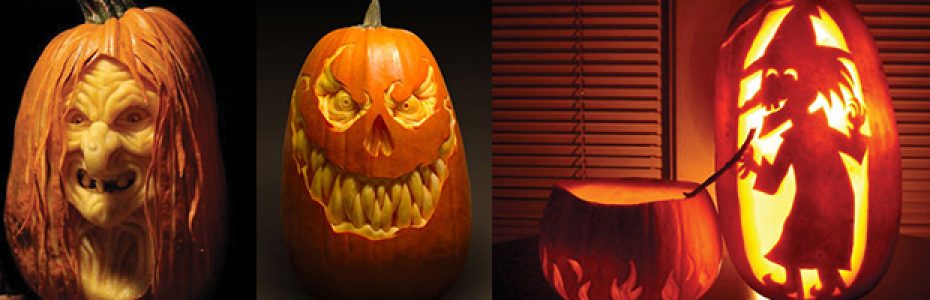
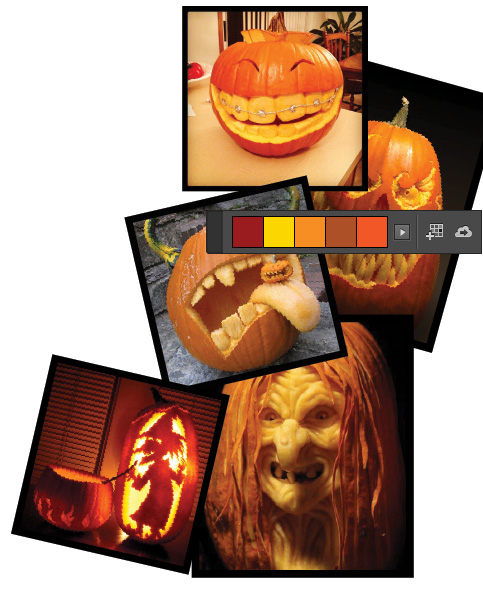
 First, decide if you are going to use a pattern or if you want to freehand your pumpkin design. If you decide to freehand it, draw it on a piece of paper first and then transfer the design to the pumpkin using the small poker you see in many of the store bought kits, pushing holes into the pumpkin to transfer the design. Another trick is to use a paper clip with one side bent out. Why draw it on paper first? Because you can mess up! You can decide on eyes you like, pull a nose design from a different drawing and a mouth from yet another One of the cool things about carving pumpkins is that you don’t always have to carve all the way through to create a fun, lighted effect.
Take off your pumpkin top and clean out the insides if you want to carve a design all the way through or if you decide on a 3-D pattern, leave your pumpkin intact (but you won’t be able to light it from the inside.)
Put down plastic or paper protection under your pumpkin. Carving with a Dremel creates pumpkin dust.
The high speed bits for carving are great. You can use the depth gauge and the router bit. With HIGH SPEED and some practice and you can shave it paper thin without cutting all the way through.
We use a small drill bit into the mix to start tiny holes around eyes
You can also try cutting a Funkin…the carve-able pumpkins that aren’t real. Post your creations on our Facebook page and have a Happy and safe Halloween!
SEE pumpkin carving projects from Dremel.com here.
One of our favorite places to get free patterns is https://www.pumpkinlady.com
For a small fee of $2 you can also use www.zombiepumpkins.com